
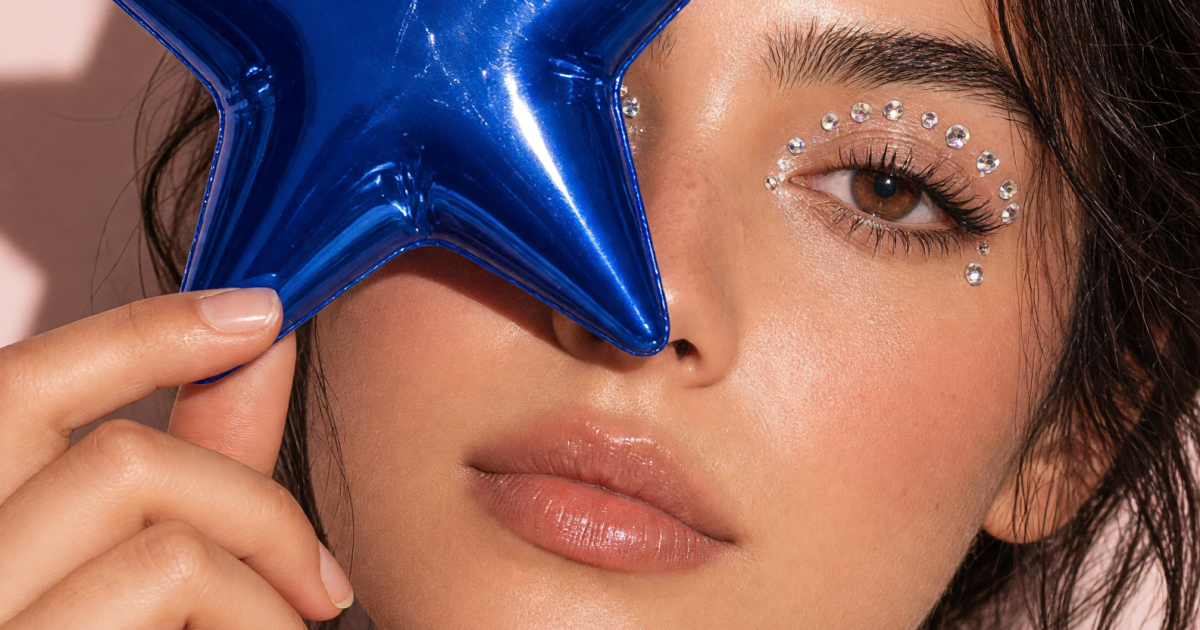
AI photo effect posts work best when they make people pause before giving away the whole picture. The tap-to-reveal format turns one still into a tiny game: cover the best detail with a sticker, leave a clue around the edge, then show the clean image on the next slide. It is quick to make, easy to understand, and built for a thumb that is about to keep scrolling.
The rule is simple: hide something that changes the photo. A sticker over empty sky feels random. A sticker over a new hair color, graphic liner, a birthday cake message, or a city view creates a reason to tap or swipe. Keep the first frame clear enough to read in a second. The reveal has to earn the second frame.
Why this AI photo effect earns the pause
A finished photo answers every question at once. A tap-to-reveal frame holds one answer back. That small bit of suspense gives viewers a job: guess the color, inspect the clue, then swipe for the payoff. It suits beauty details, outfits, food, travel, and any fresh change that looks better when it arrives one beat later.
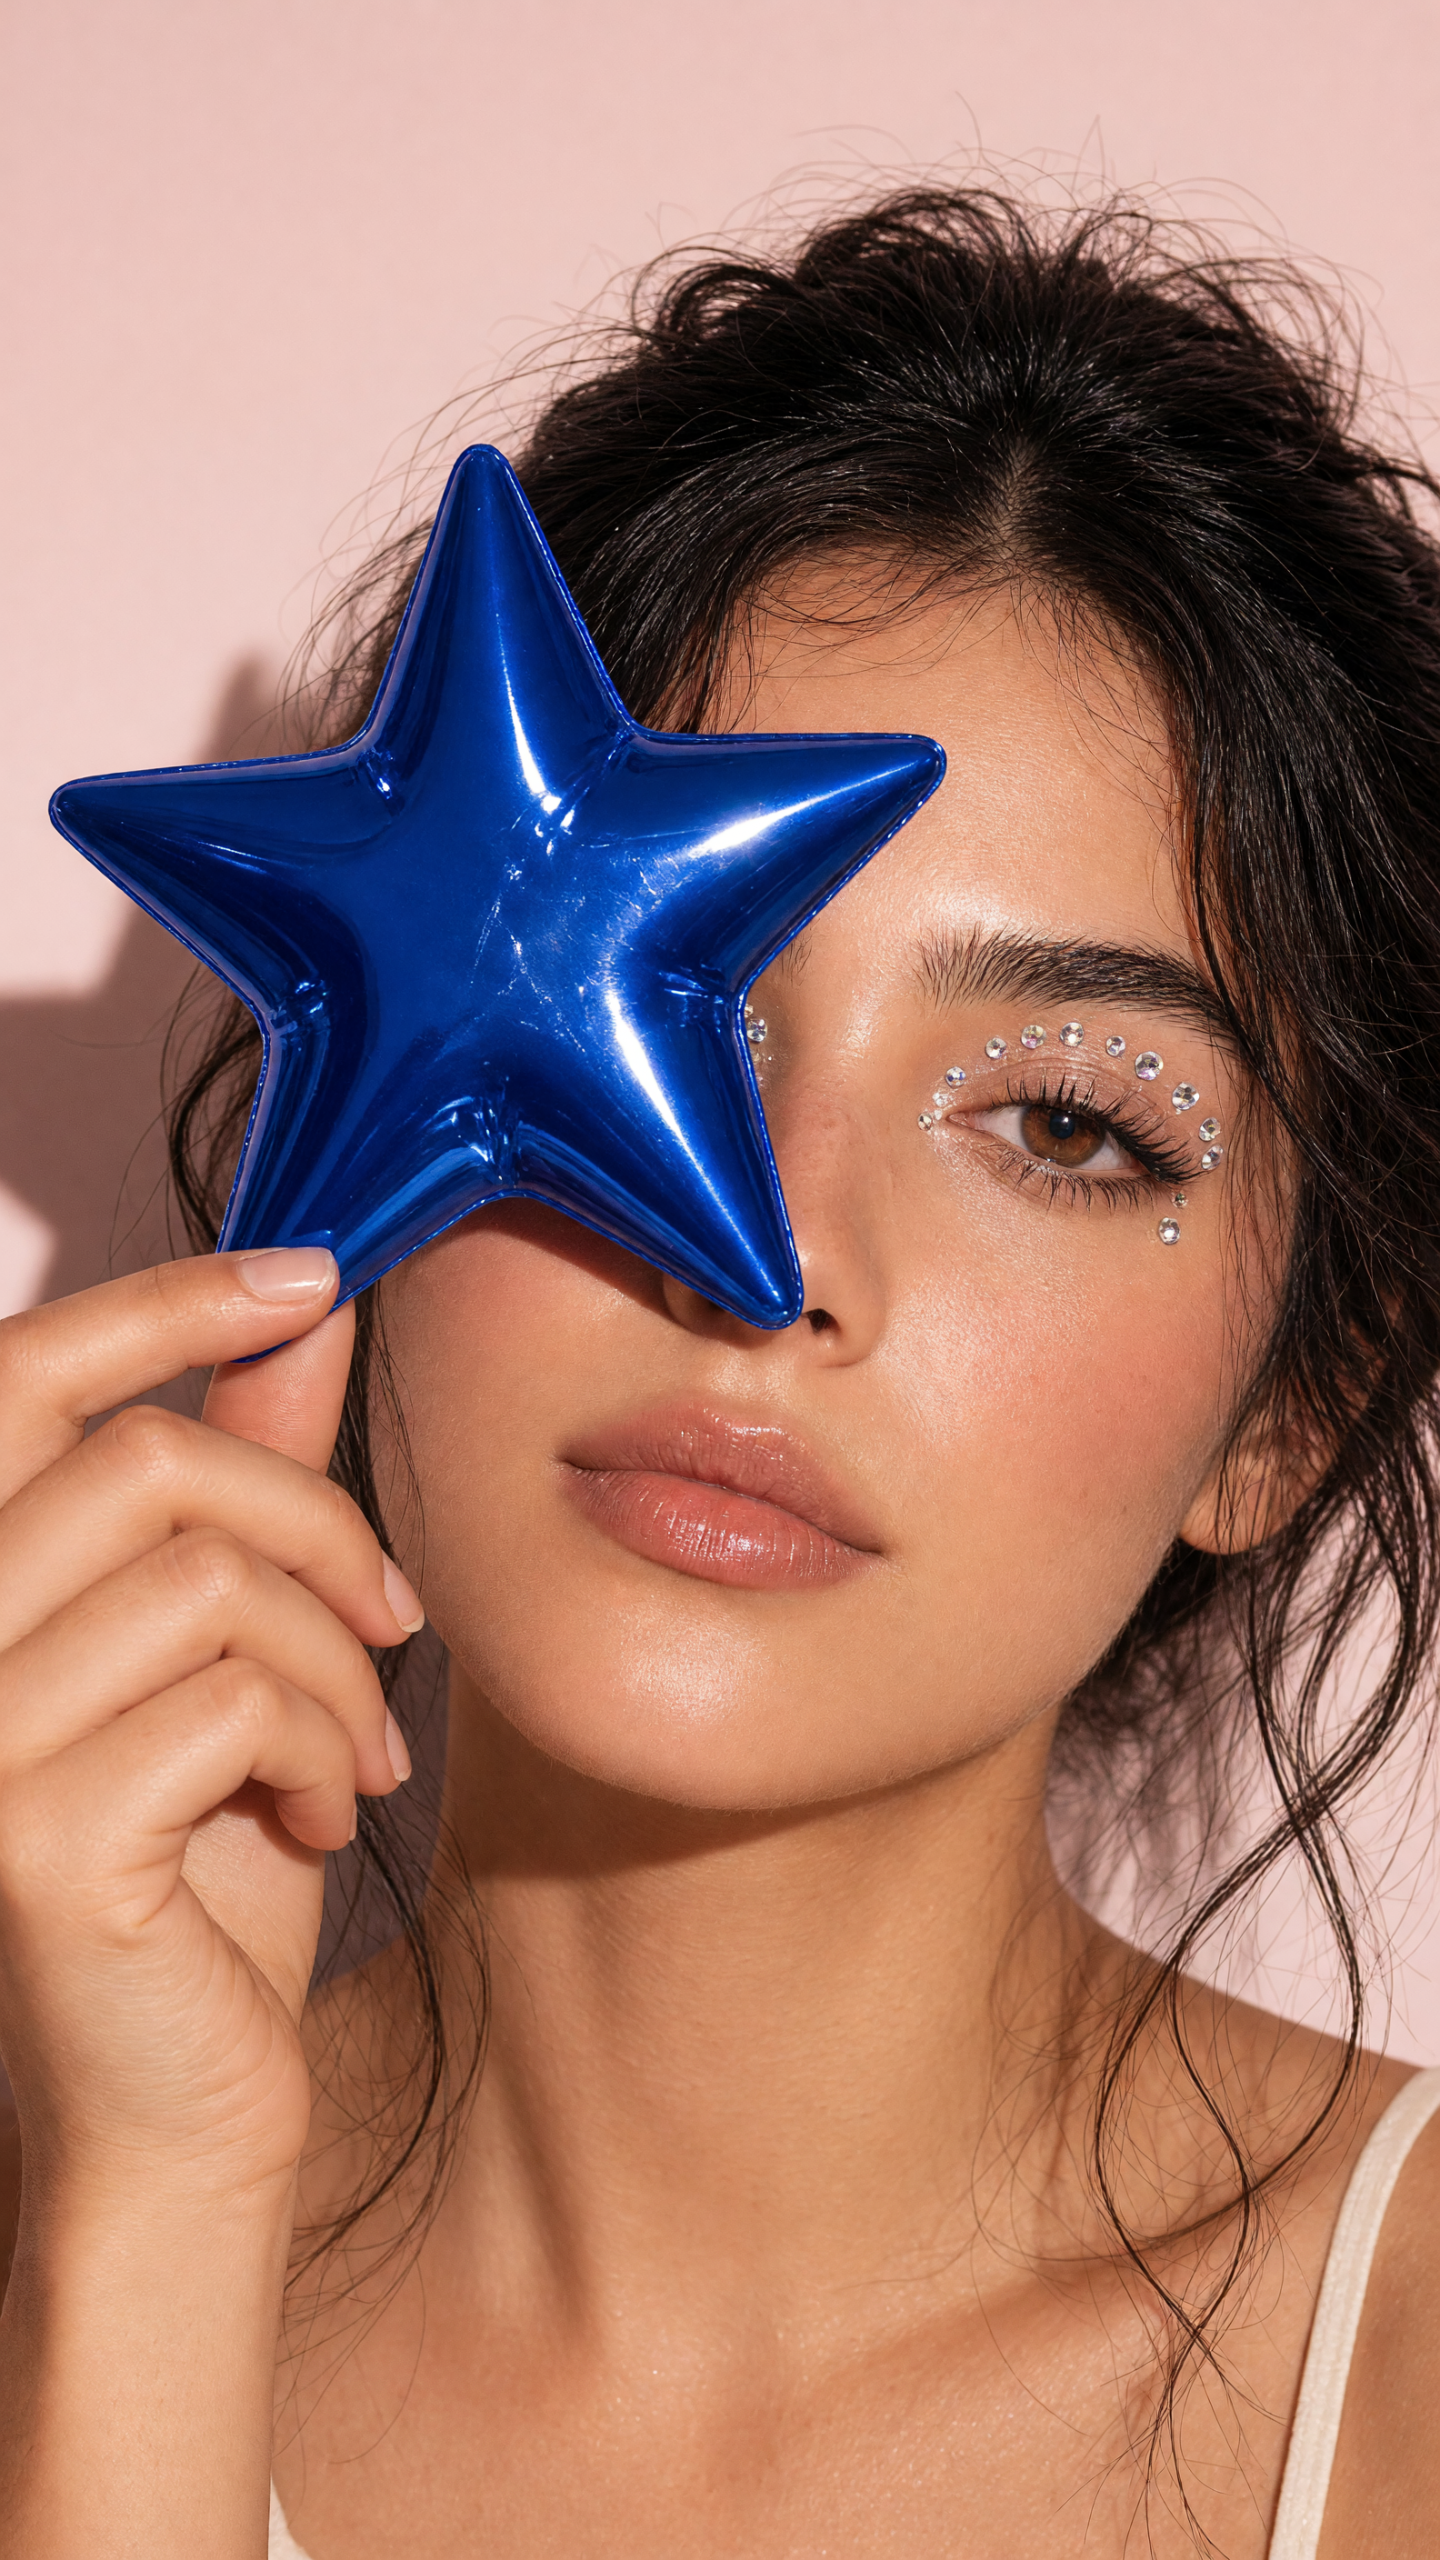
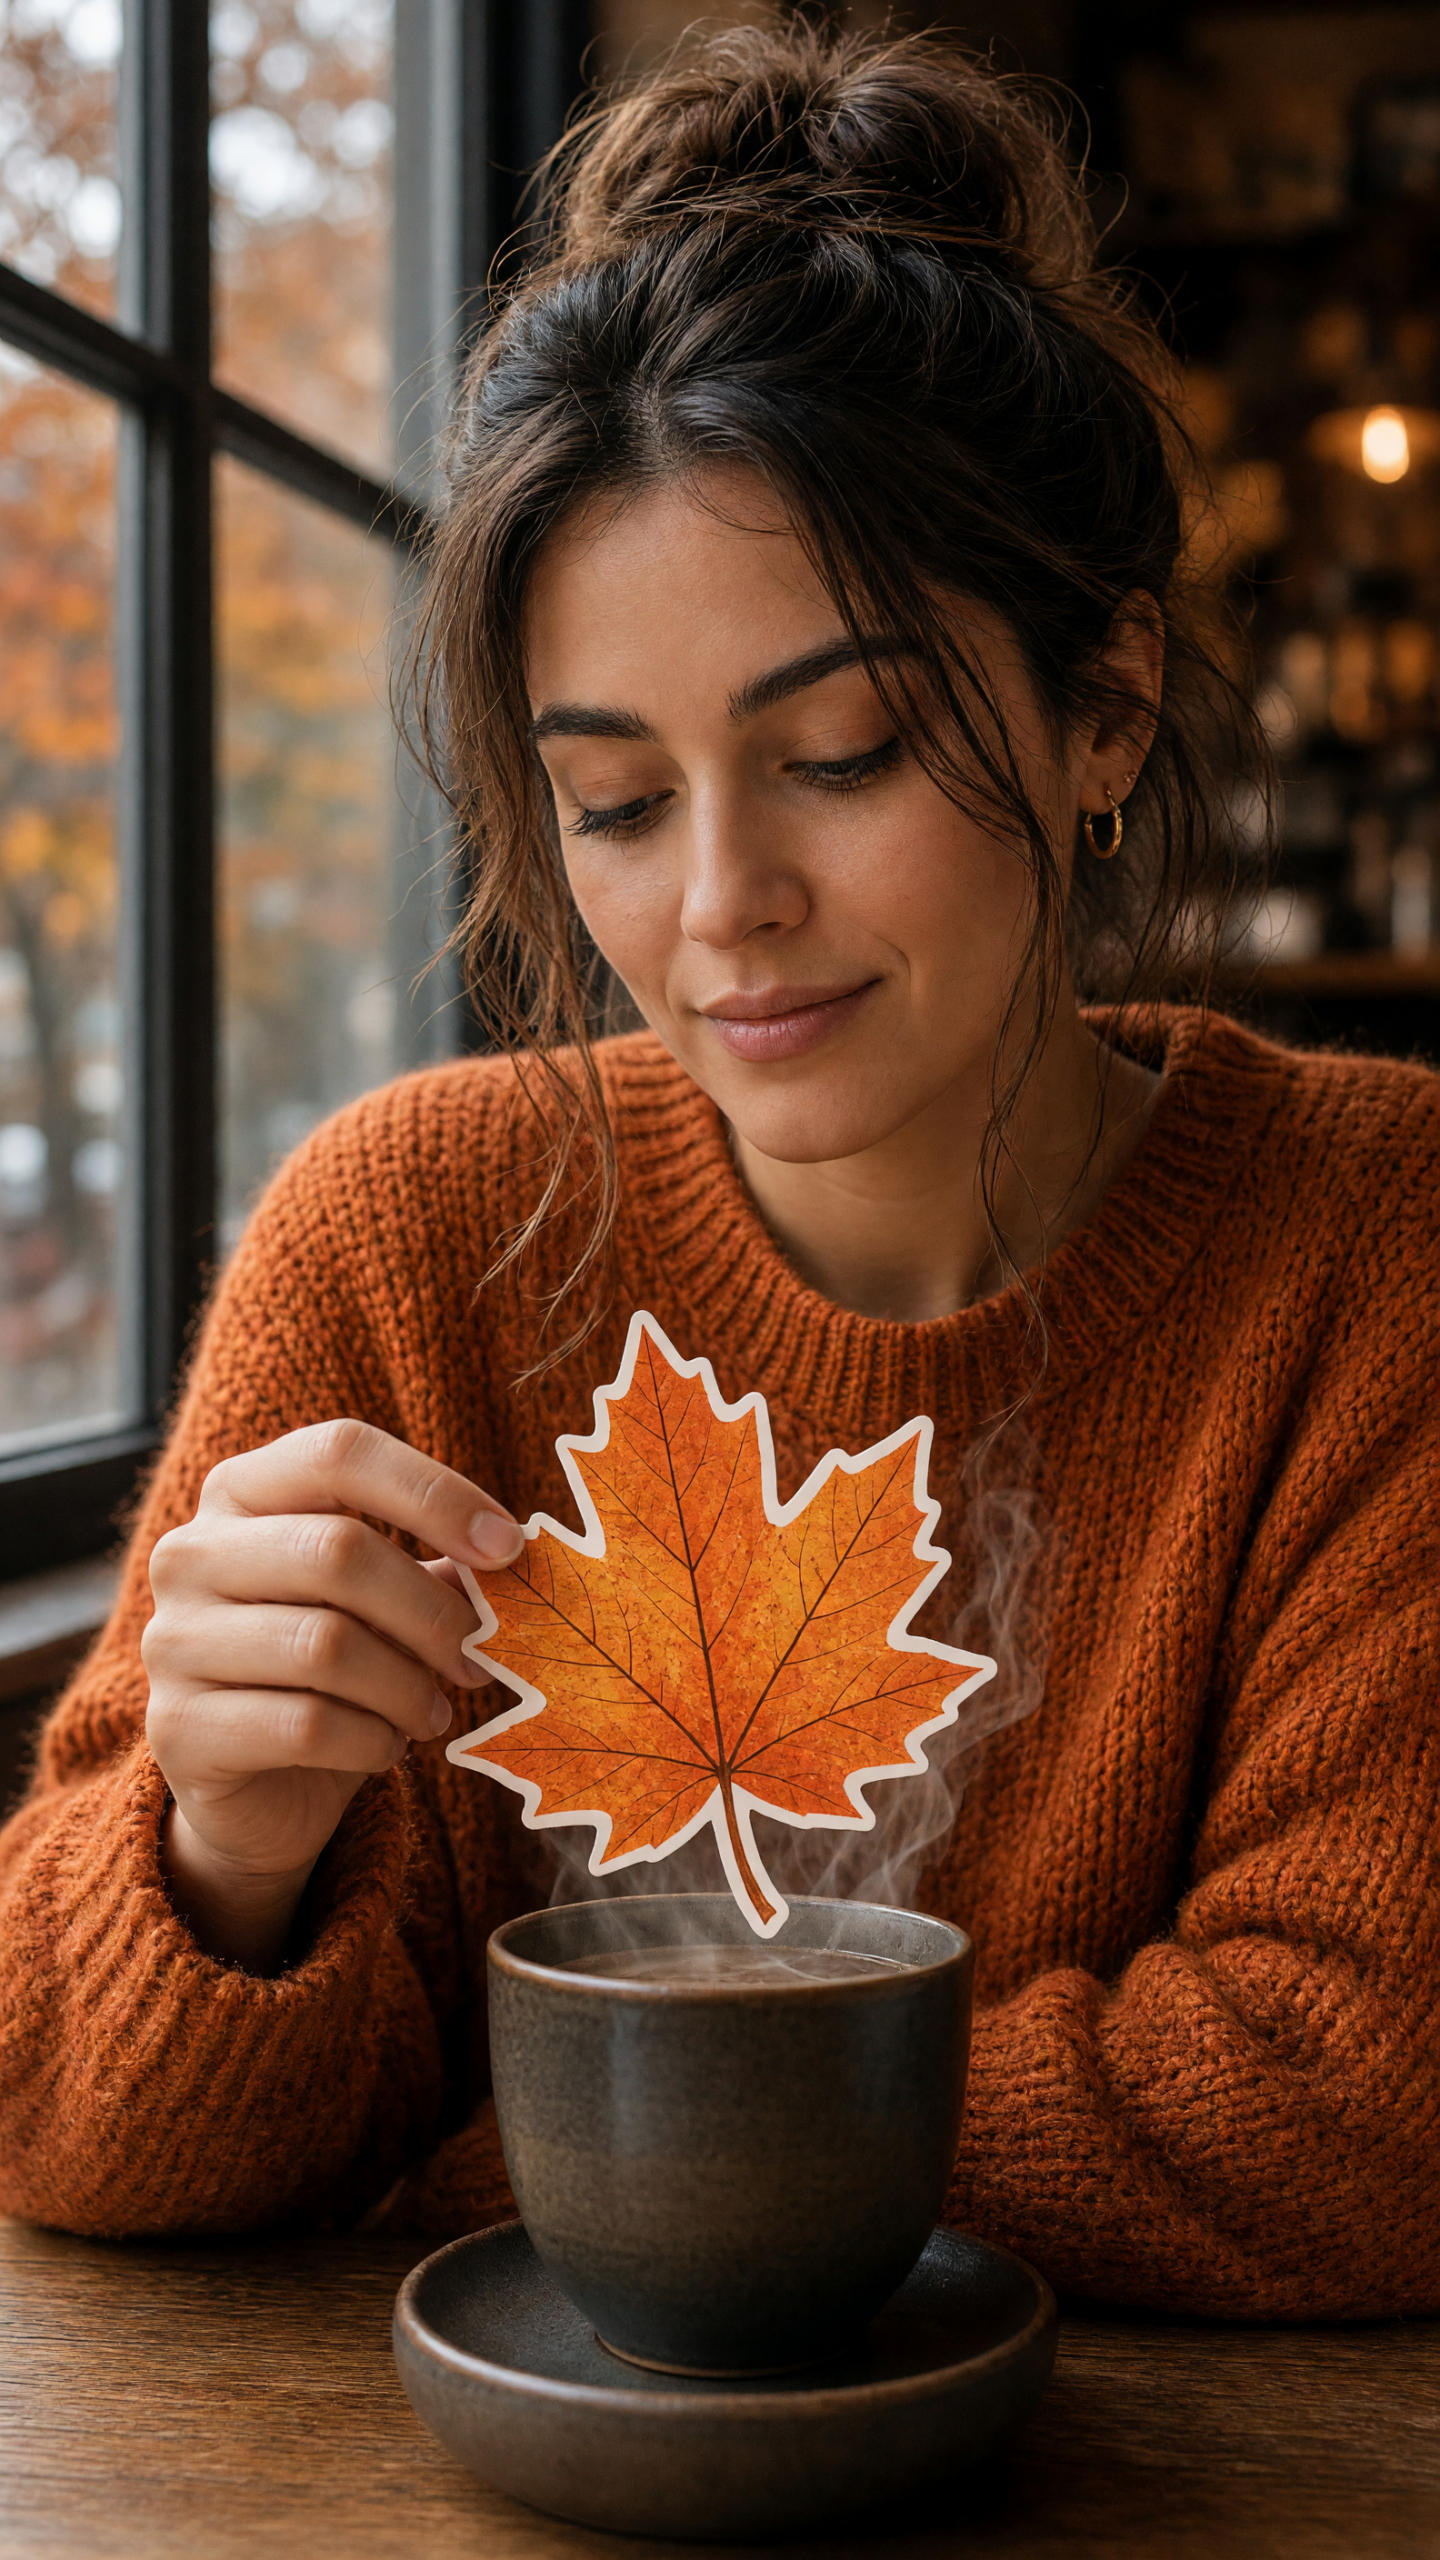
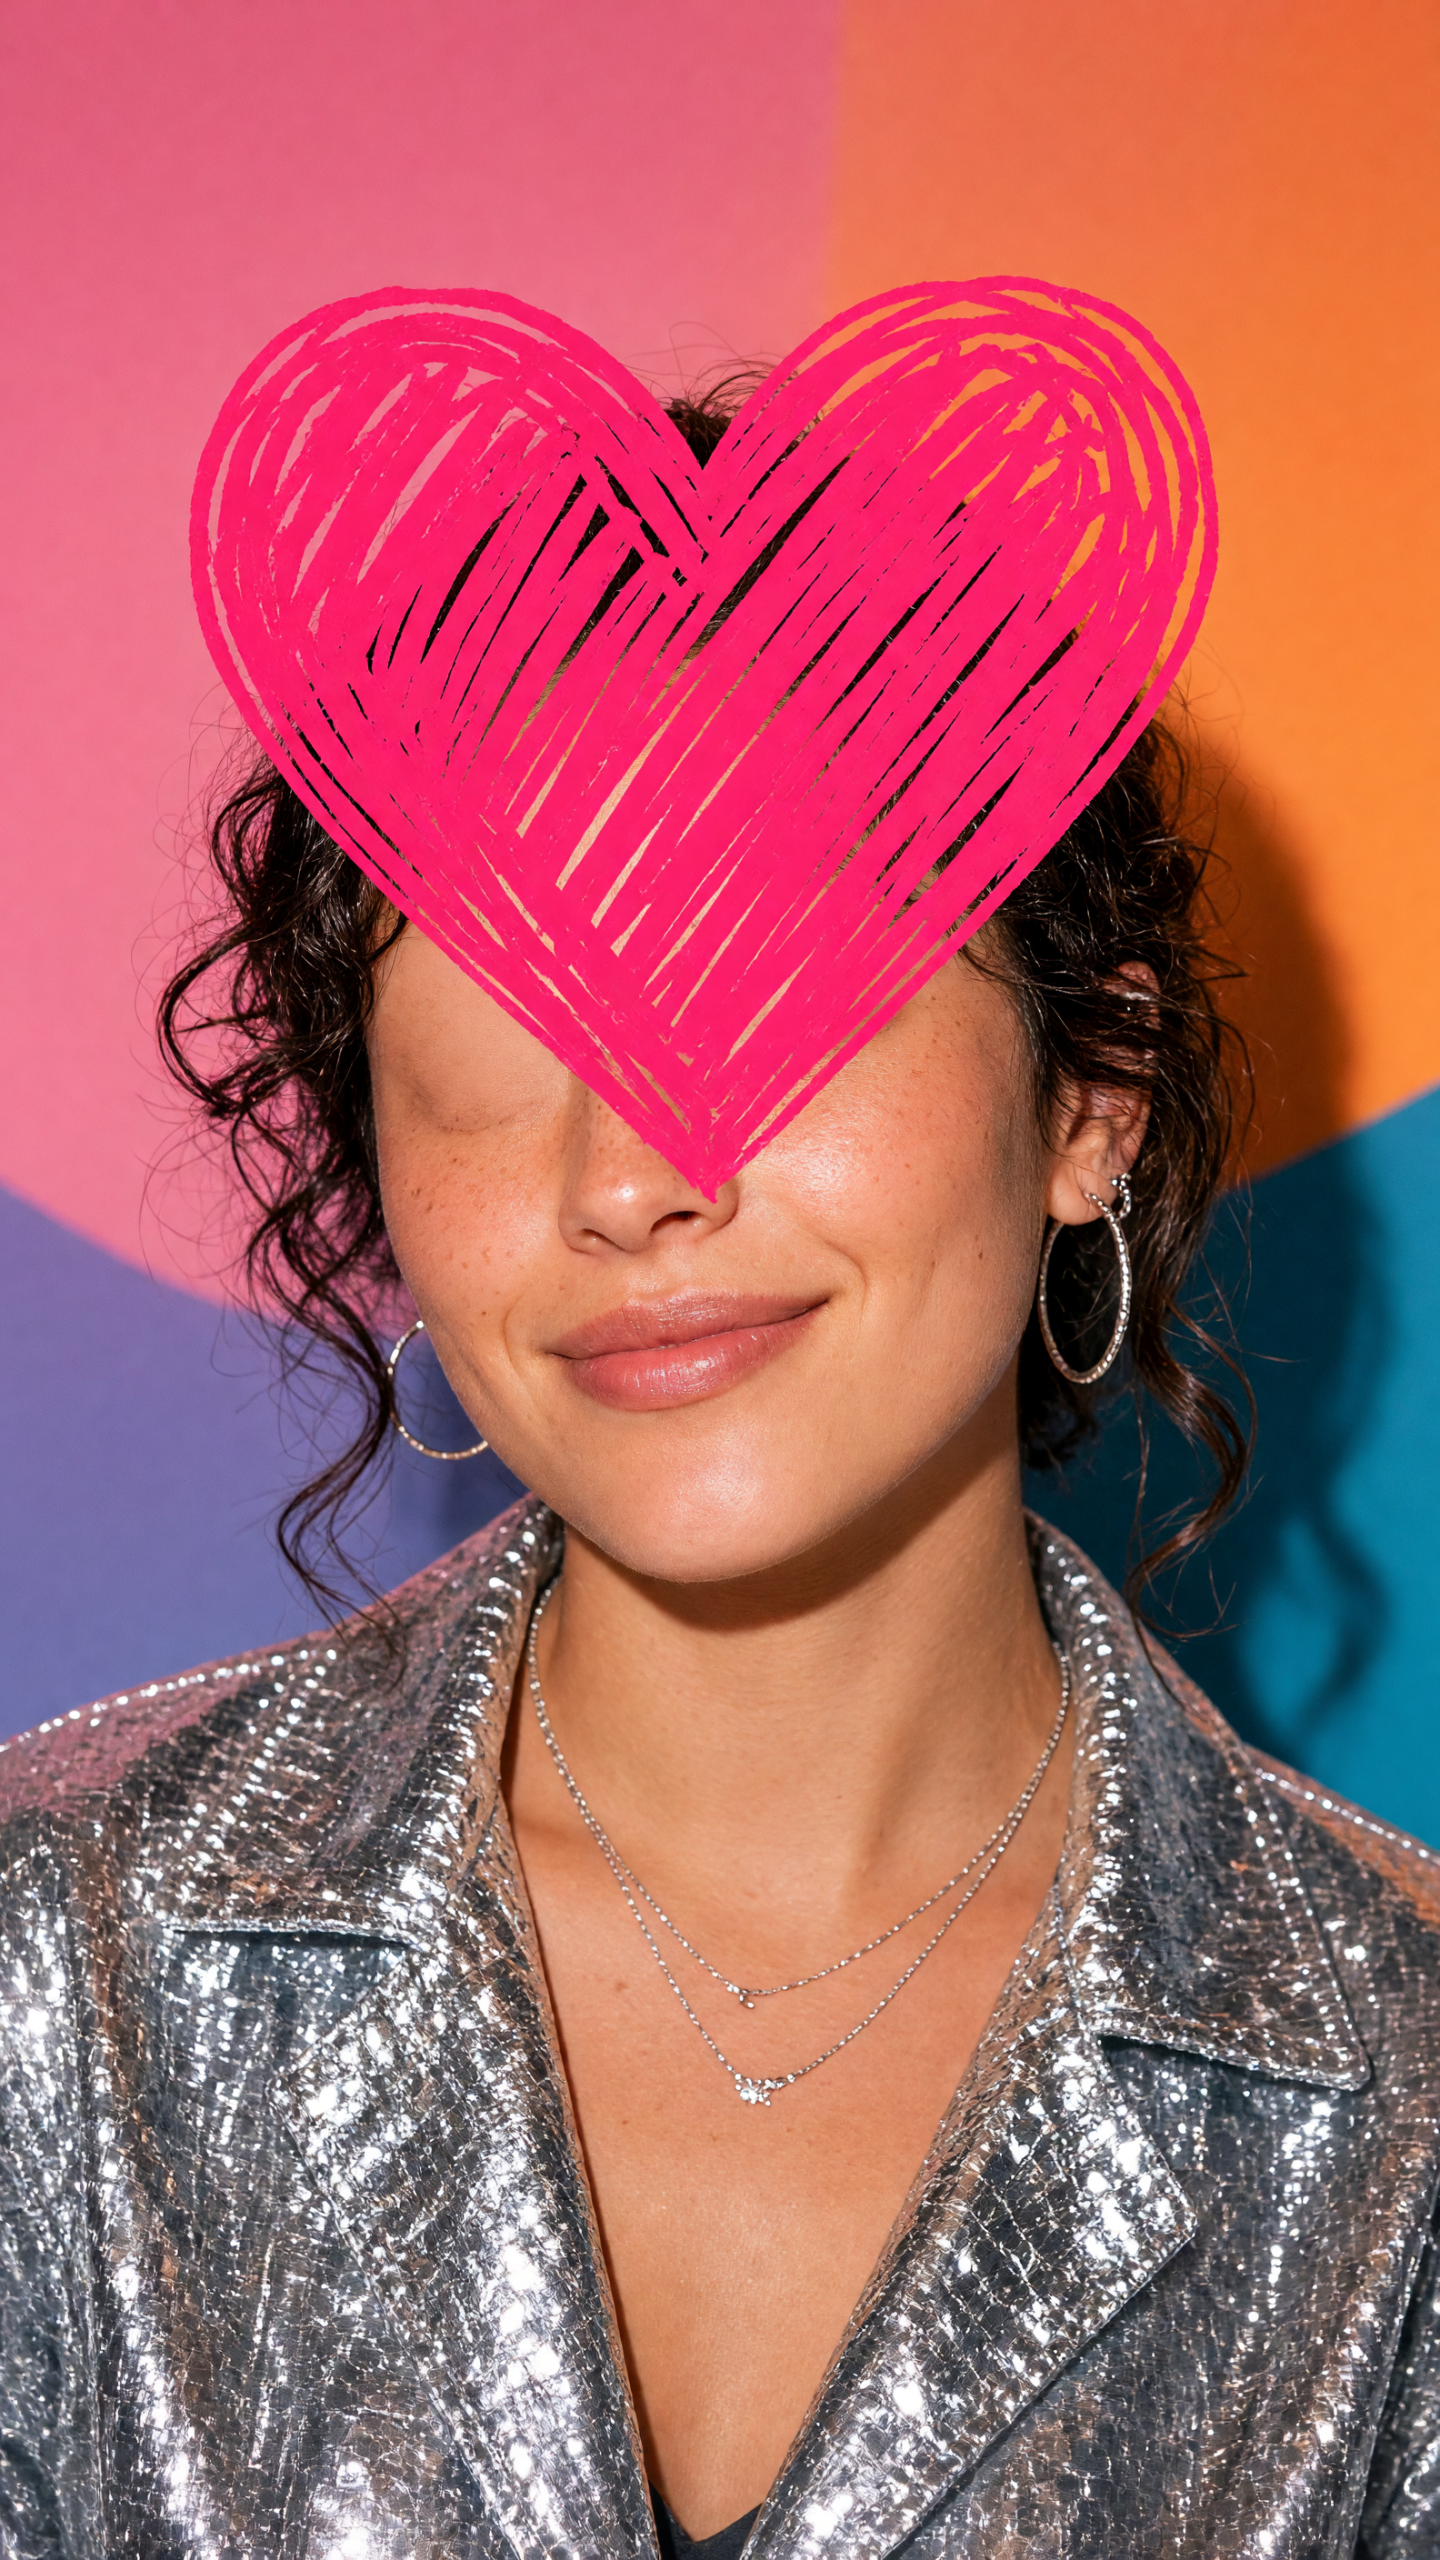
Choose one reveal per post. A heart over the hair, a star over the eye, or a leaf over the drink makes the joke instantly clear. Four stickers competing for attention do not. Keep the shape large enough to read on a phone, then let a little color or texture peek out. That visible edge tells viewers the cover is intentional, not an accidental crop.
For a polished starting image, generate or edit a portrait with clear lighting and one obvious hero detail. An image tool can help test colors, backgrounds, or makeup ideas before a shoot. For example, a prompt such as close portrait, silver graphic eyeliner, soft flash, cobalt background, clean beauty editorial gives the design a strong focal point. Pick one version, then add the sticker in the editor rather than asking the image to do everything at once.
4 tap-to-reveal AI photo effect ideas to try
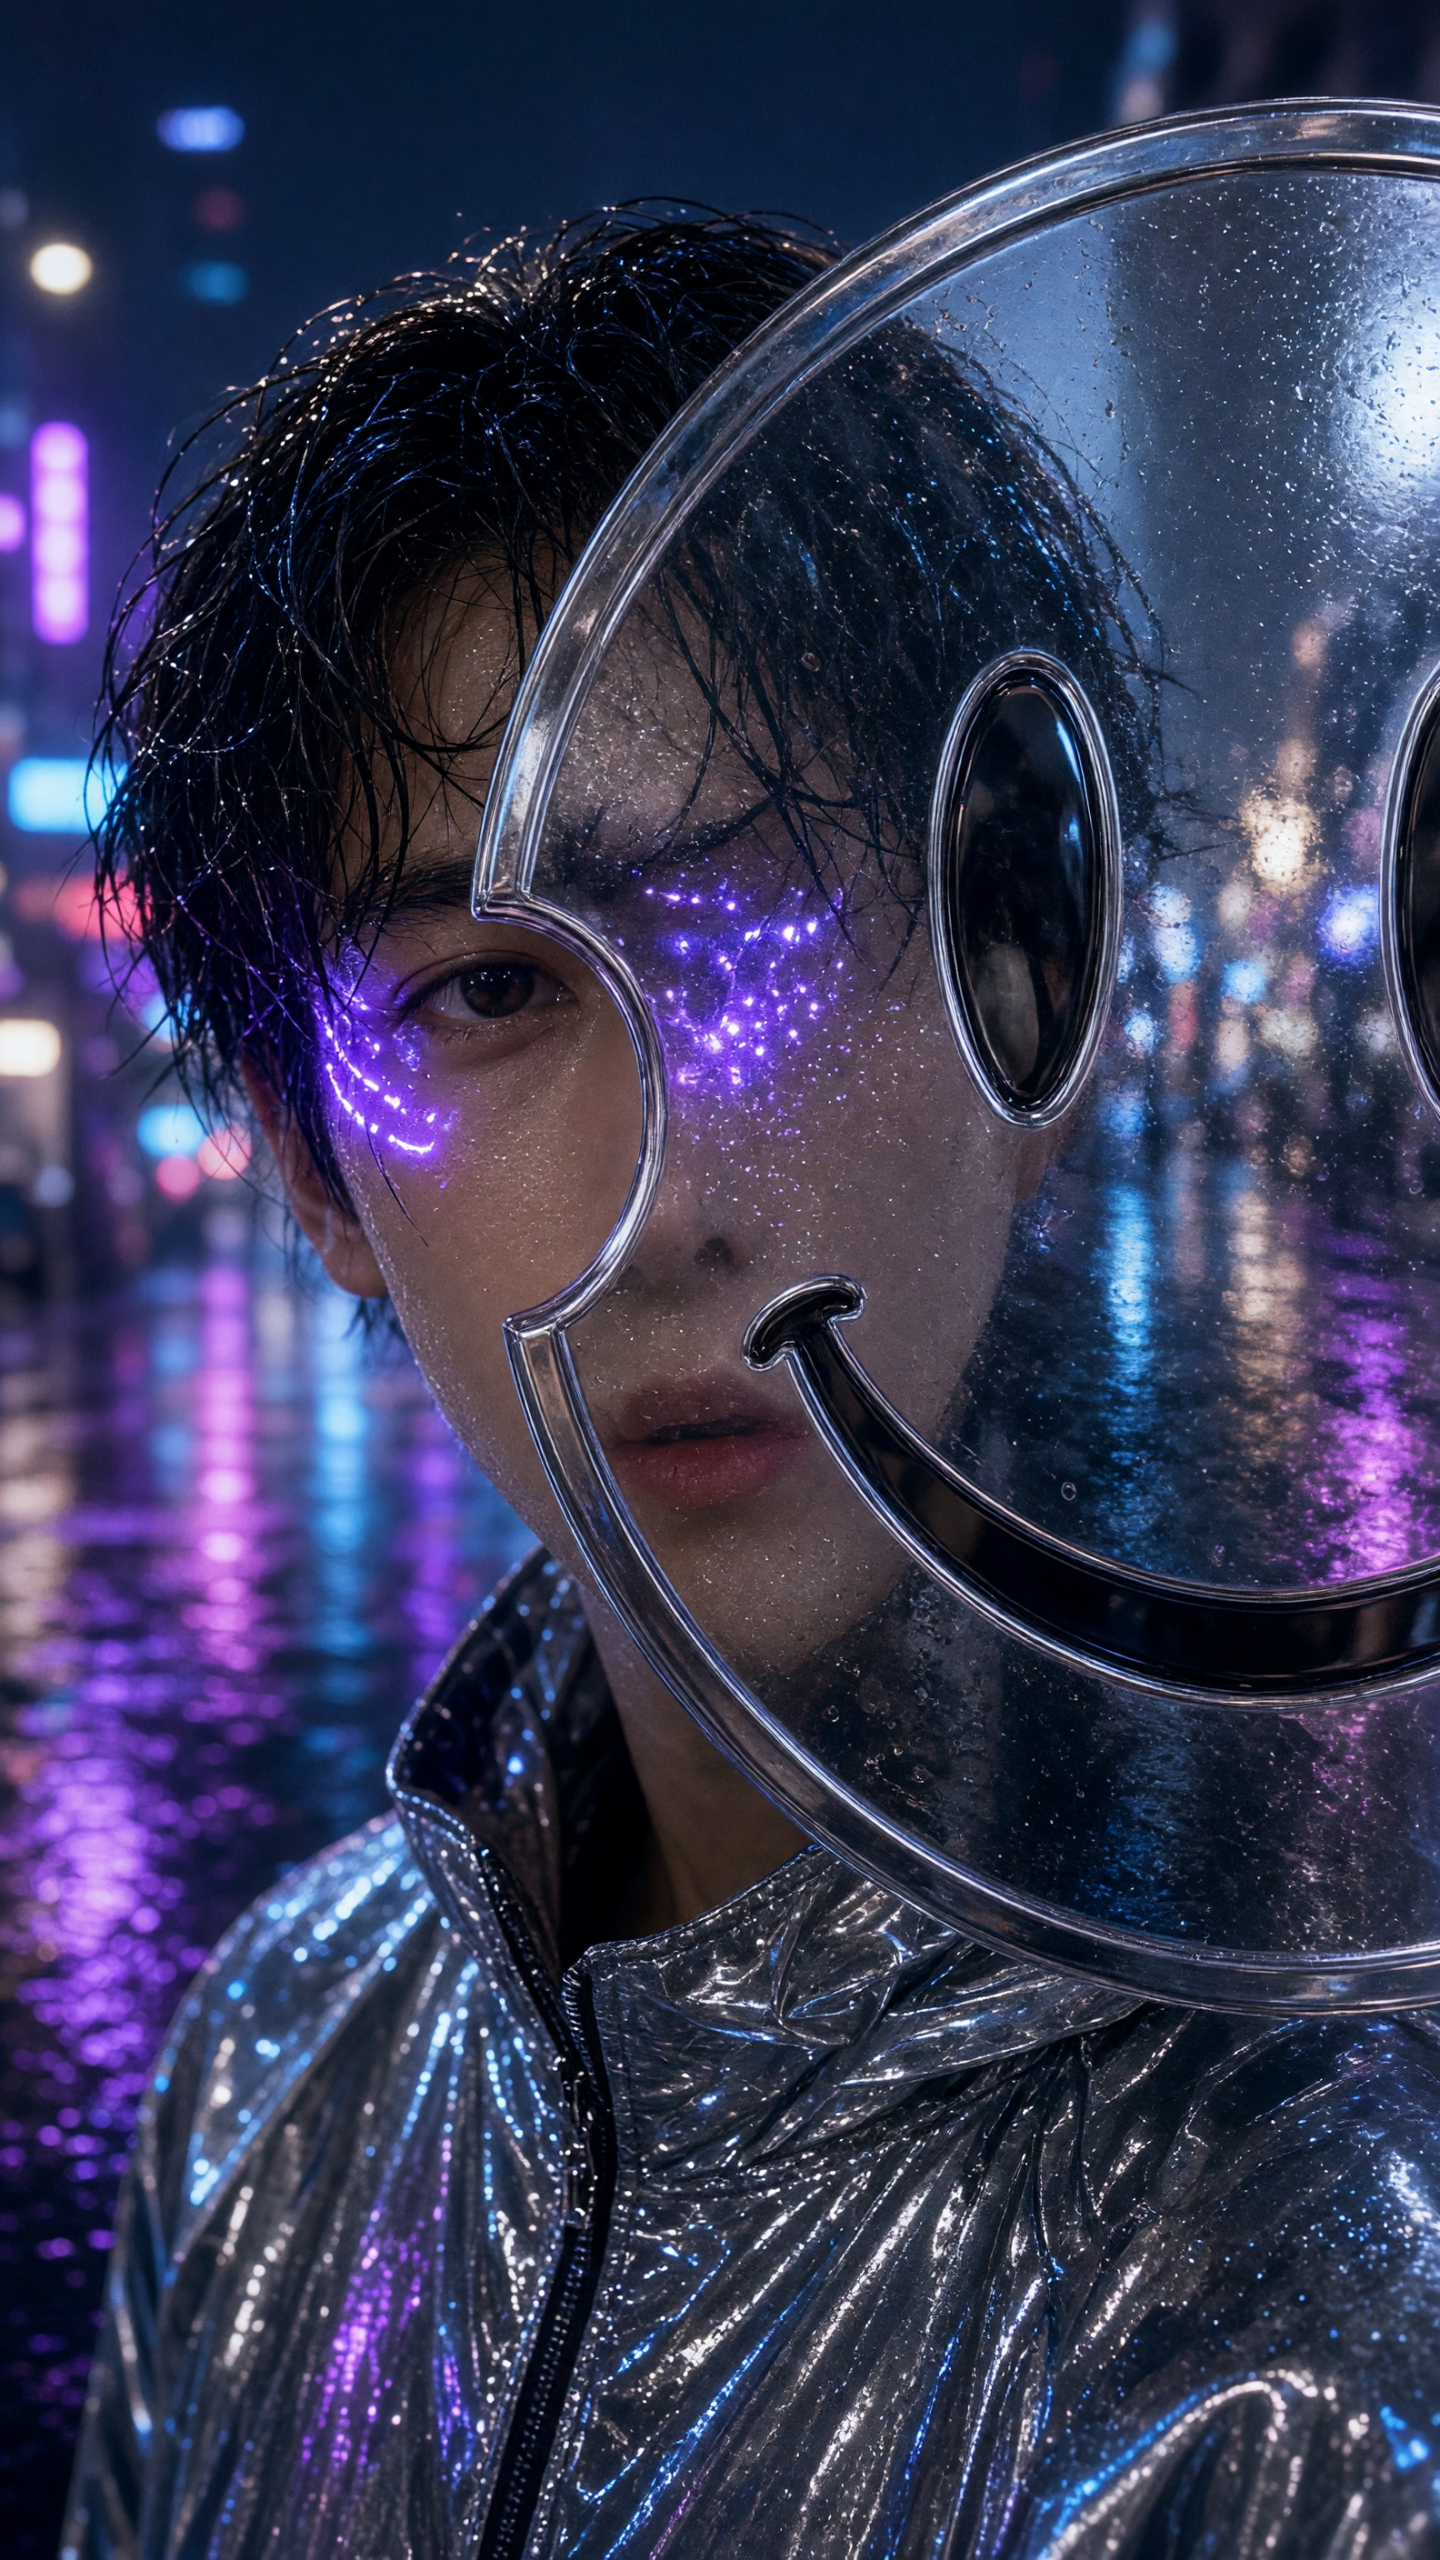
How to make a tap-to-reveal carousel
Build the clean image first. Duplicate it, then add the sticker only to the first copy. That keeps framing, exposure, and face position identical when viewers swipe. Place the graphic over the reveal point, not in the middle by default. A star can sit over an eye; a heart can cover the hairline; a leaf can hide the drink art.
Next, write a caption that asks for one action. Try: Guess the detail before slide two. Or: Tap through for the color reveal. Keep it short. The image already carries the setup. On Stories, pair the covered frame with a poll such as red or brunette? On Reels, hold the stickered photo for about one second, then cut to the uncovered version on the beat.
For an AI photo effect that still feels like a real post, use a photo of the same person, outfit, and setting across every slide. Do not switch from a flash portrait to a soft outdoor image halfway through. The consistency makes the reveal satisfying. A tool such as Grok Imagine Image V2 can help explore a controlled edit or fresh social visual before the final layout.
Production tips that keep the reveal clean
Check the first slide at small size before posting. If the sticker covers the face completely, shrink it. If the secret is visible from across the room, enlarge it. The best balance leaves a thin clue: a shine of metallic shadow, a strip of red hair, or the foam edge of a drink.
Use one font style in the caption graphic, if text is needed, and keep it away from the covered area. Save the carousel as a vertical 4:5 post so the image takes up more of the feed. For Stories and Reels, use 9:16 and keep stickers away from the top and bottom interface zones. Add the clean reveal as the second slide, not the last one. Waiting too long makes the format feel like homework.
Finally, make the reveal worth the wait. A new color, a dramatic detail, or a tiny surprise works. A normal photo with a random sticker does not. That difference is what turns a simple AI photo effect into a post people send to a friend.
Create this effect in Bloom AI
Recreate these effects on your own photos and videos – free to start.